Integrating Yext into the Referins platform offers a streamlined approach to managing your online listings across 150+ websites, enhancing SEO, and boosting your online presence. Here’s how to get started and leverage these features.
Why Use Yext with Referins?
- Automated SEO Boost: Yext's integration allows for an automatic push of your information across a vast network of sites, enhancing your SEO with minimal effort.
- Control Over Listings: Continuous use of Yext through Referins ensures you maintain control over your listings, preventing unauthorized changes and keeping your online presence consistent.
Step 1: Creating a Yext Account through Referins
- Navigate to Reputation on the left > Listings at the top.
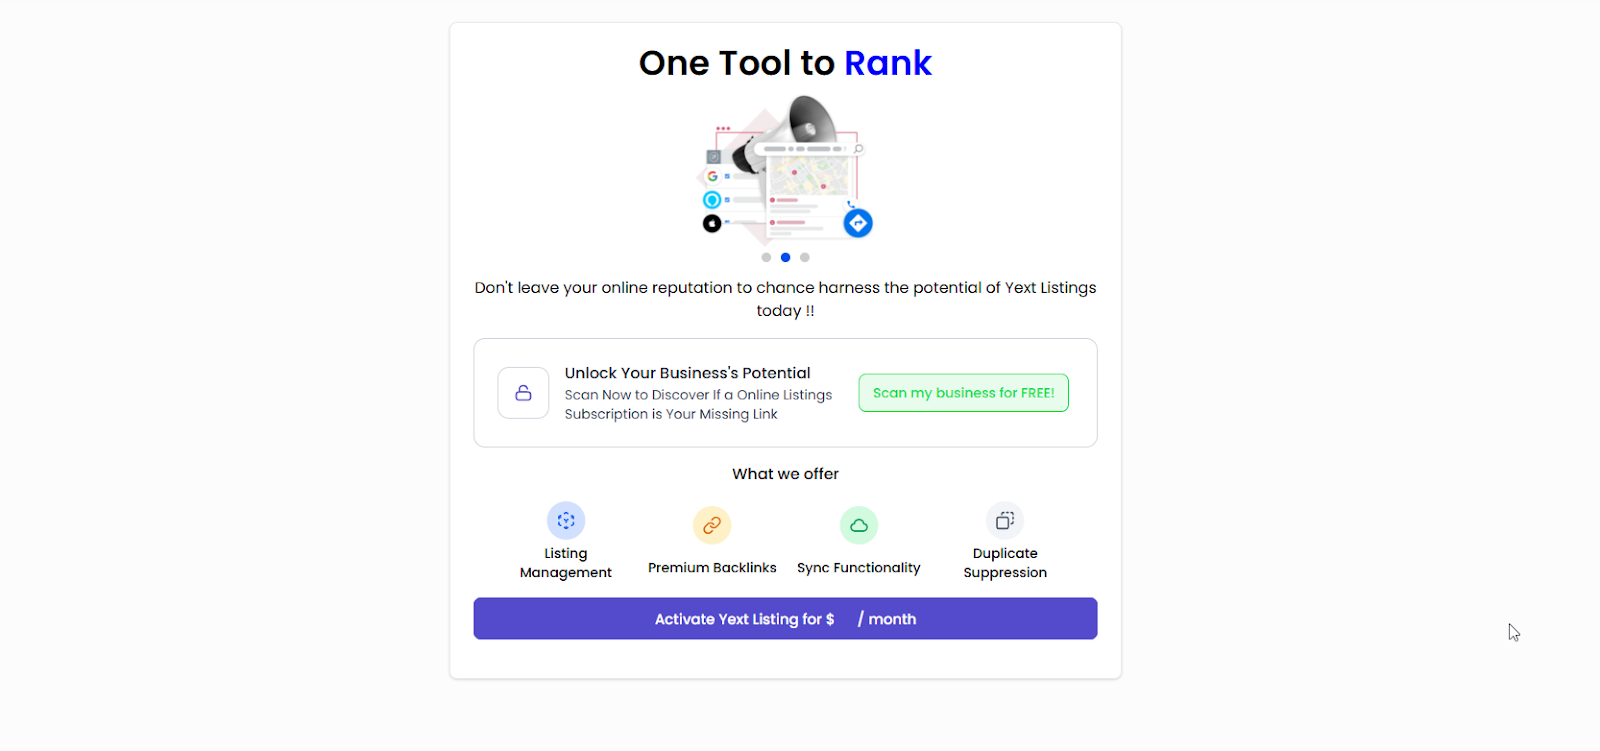
- With “Scan my business for FREE” you will be able to run the scan and review the findings.
Please note: To activate the necessary corrections you need to be subscribed to Yext.
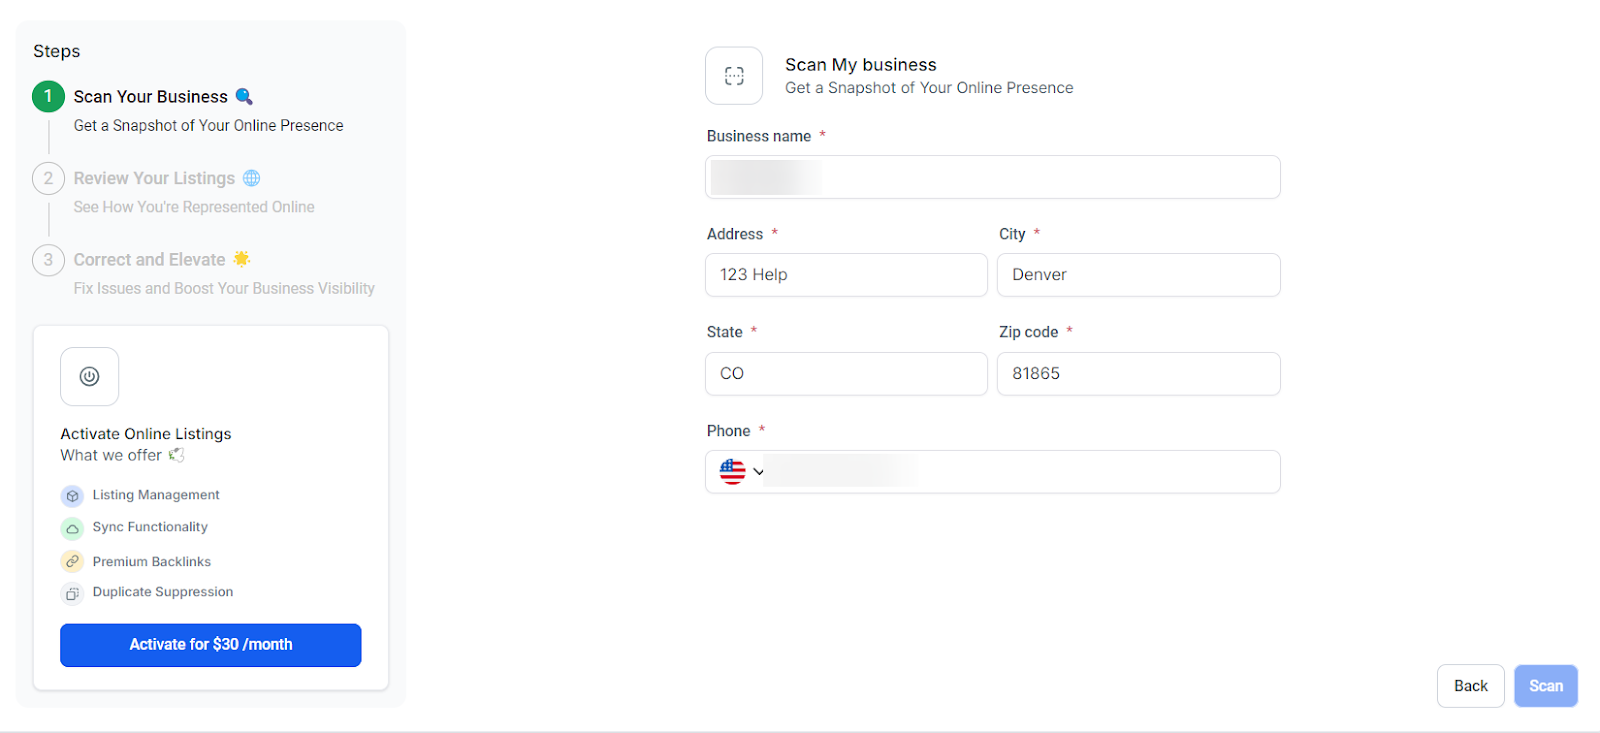
- Fill Out Your Information: You will be prompted to fill out essential details for your Yext listing, including your business’s name, address, phone number, and website. This information is crucial as it will be pushed out to over 150 websites automatically.
- Complete Payment Information: Enter your payment details to finalize the creation of your Yext account. Referins may offer special pricing for Yext, so ensure to review the pricing options carefully.
- Confirmation: Once you've filled in all the necessary details, click on “Confirm” to finish setting up your Yext account directly through Referins.

Step 2: Viewing and Managing Your Yext Data
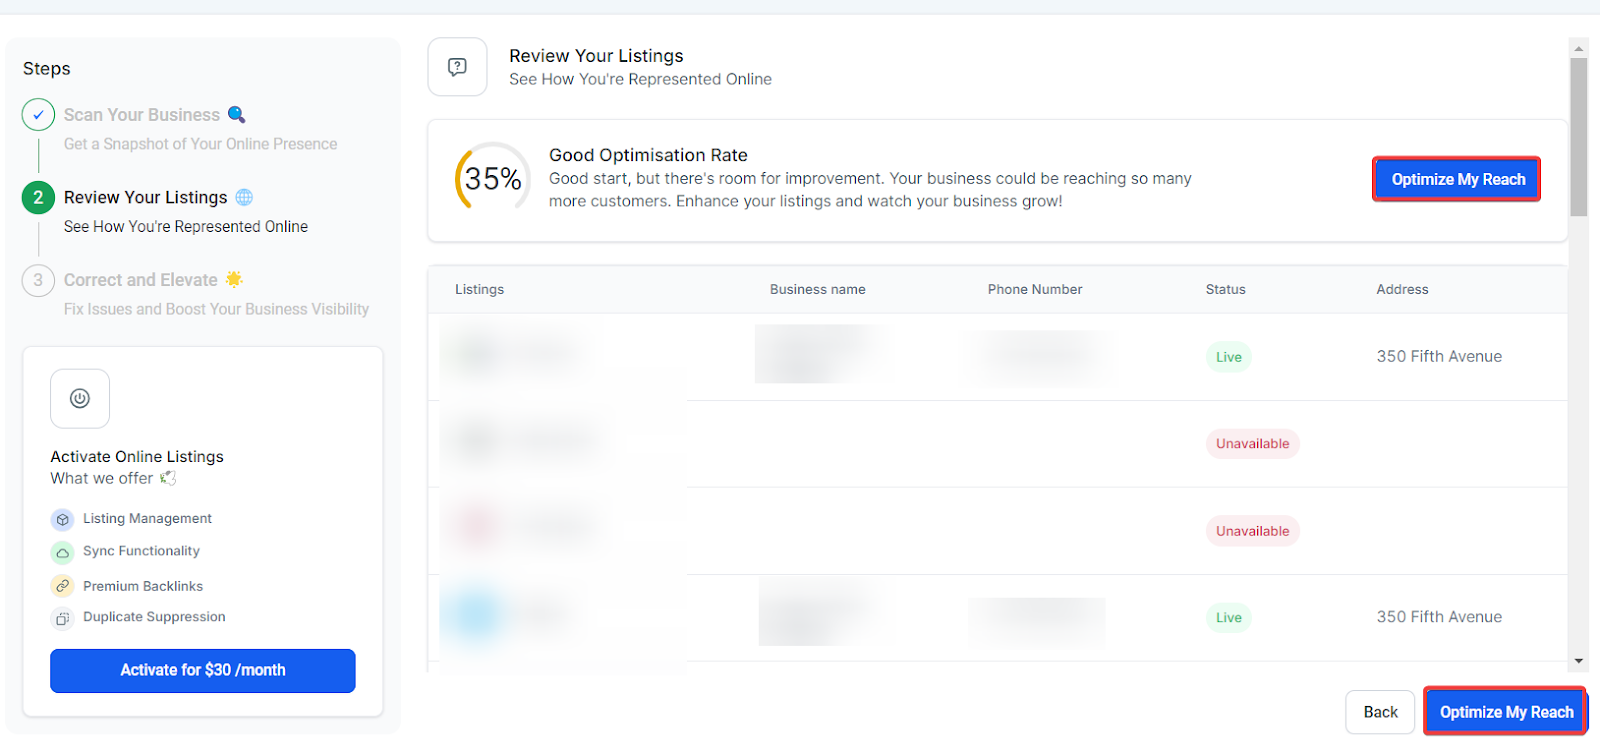
- Access Listings Page: Go to the Listings page within Referins after creating your account. Initially, your information might be processed, indicated by a graph and icons showing most data as “Processing” or “Unavailable.”

- Review Live Data: Your listings will go live within about 48 hours, and you can see the majority of your information marked as “Live.” This rapid deployment is part of Yext's SEO strategy to enhance your online presence swiftly.

- Monitor Network Statuses: Scroll through the individual networks and their statuses to assess how Yext is improving your online visibility.

Features and Enhanced Management
- Manage Listings: You can manage active listings directly by clicking on “Manage Listing” next to the respective listing. This feature directs you to Yext, where you can update and manage listings with ease. Remember to use the “Copy Password” function for seamless login.

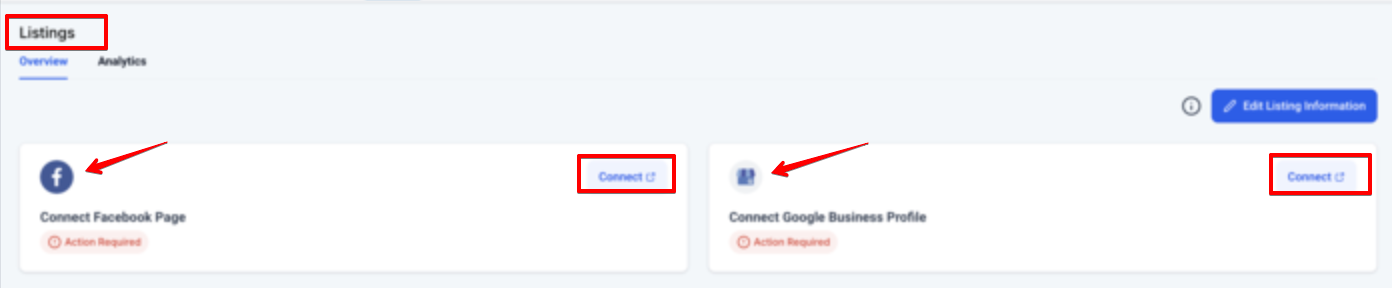
- Connect your Google My Business and Facebook Pages directly from within the Listings dashboard. Select "Connect" and follow the guided process to link your GMB or Facebook account. Ensure login credentials for your accounts are ready for a smooth setup.
- Additional Attributes for Business Profiles allows businesses to showcase detailed and specific information, enhancing their profiles and making it easier for customers to find and connect with them. This feature introduces fields for services, associations, brands, languages, and keywords, providing a comprehensive view of what your business offers.
By adding relevant keywords and detailed attributes, businesses can attract more relevant leads and drive meaningful engagement.
 Cancel Yext Listings:
- On the Listings page click on the Edit Listings Information Button on Top Right.
- Under the Edit Listings Information page, navigate to Manage Listings tab and click on Cancel Yext Listings on the Bottom Left
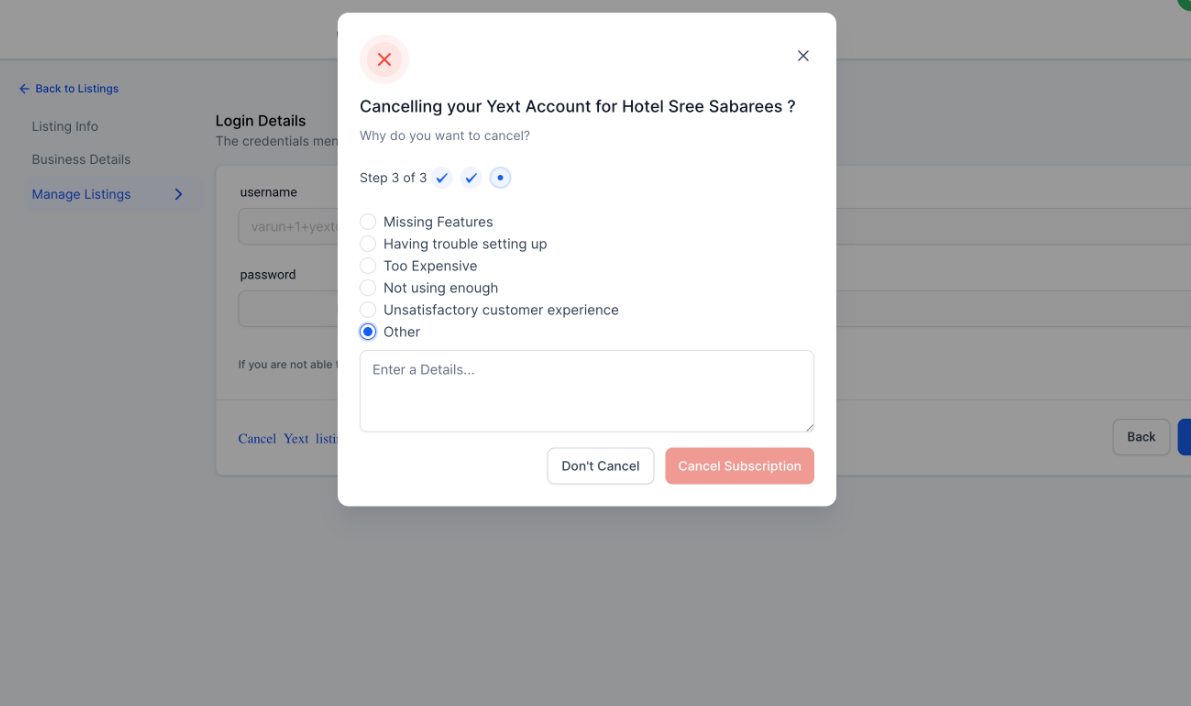
- Initiate the Cancellation Process: A pop-up will appear to confirm the location details for cancellation. Once confirmed, provide a valid reason for your Yext cancellation and click "Confirm." Your Yext listings will be automatically canceled in the backend.
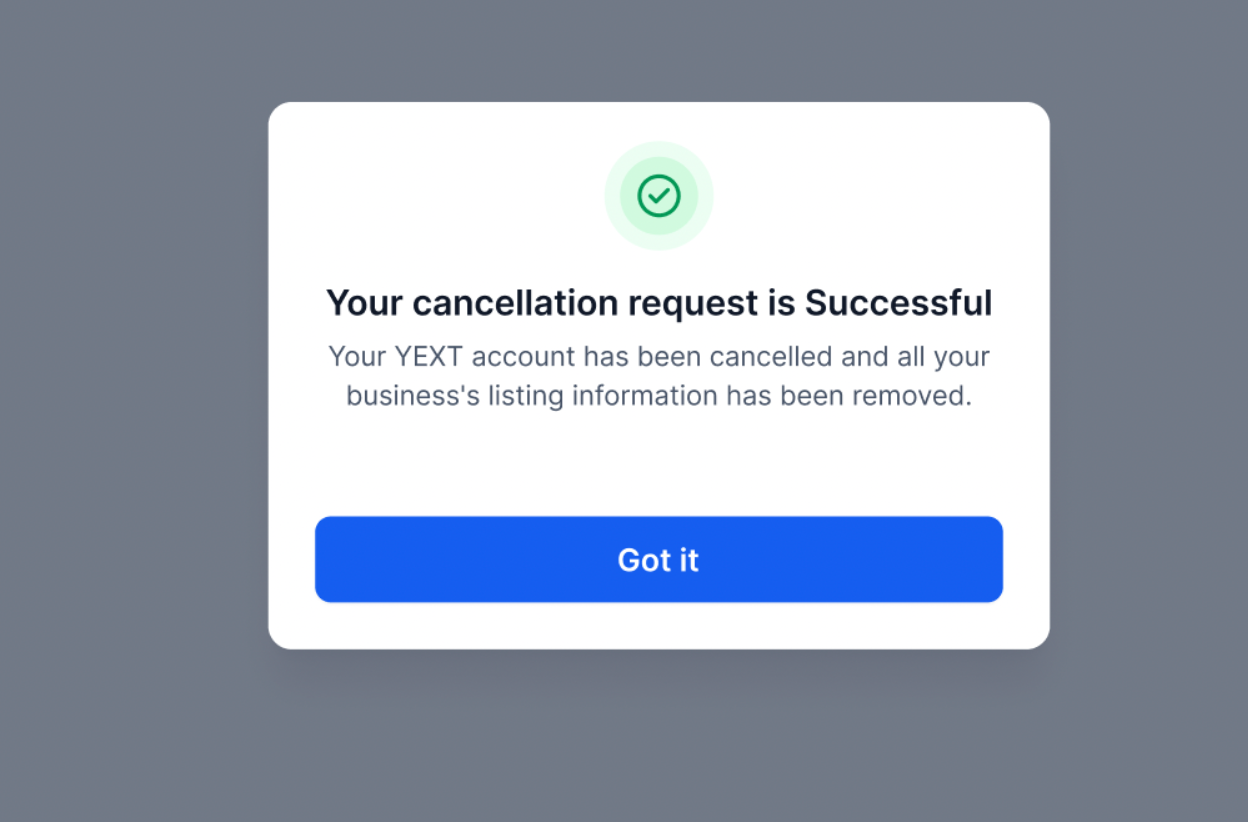
- A pop-up will appear confirming that the cancellation was successful, as shown below:
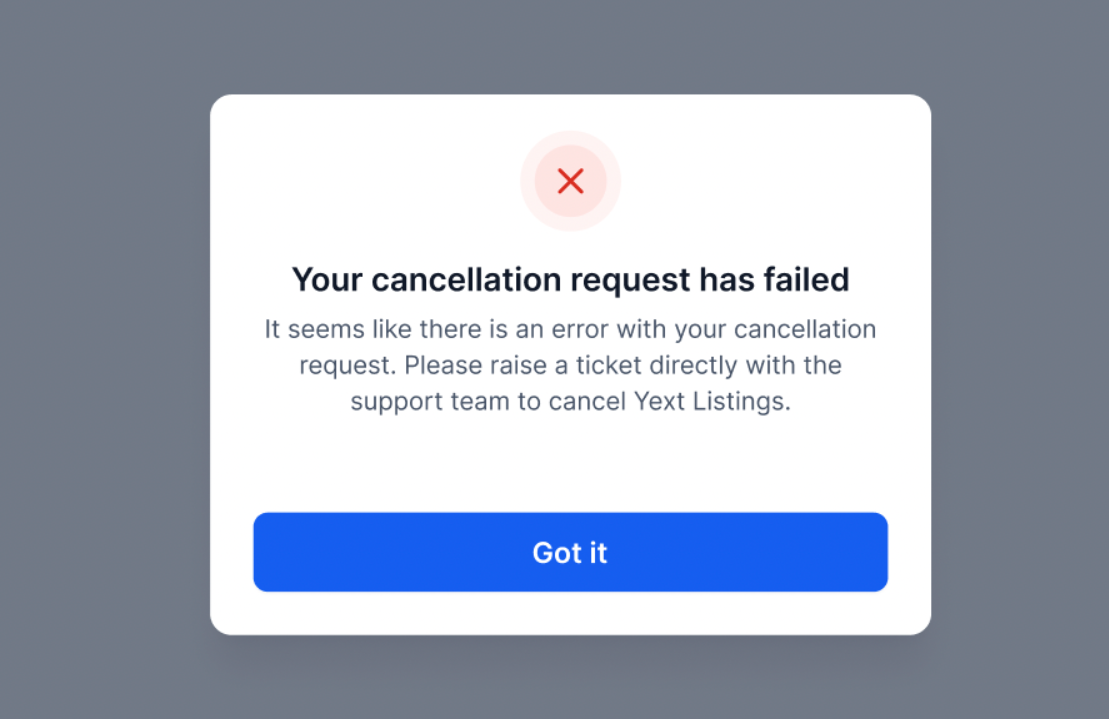
What to do if Yext Cancellation Fails?
If the cancellation fails, you will receive an error message as shown below. In this case, please submit a cancellation request to the support team.
Note: Yext cancellations are only applicable to locations that have submitted the form at least 30 days before initiating the cancellation request.
- Automate Cancellation in Workflows (Optional): If desired, you can integrate the cancellation process into your automated workflows. This feature is particularly useful for managing listings at scale or as part of a service package adjustment.
The Automated Yext Cancellation is only applicable for users who have submitted the Yext form 30 days prior to Cancellation.
Important Considerations:
- No More Listings Removal: It's crucial to note that Yext no longer removes listings upon cancellation. When a Yext listing is canceled, Yext simply stops managing it. The listings themselves remain intact, which means the SEO benefits you've gained will not be undone by cancellation.
- Updated Commitment Period: Previously, a minimum commitment of three months was required for Yext listings. The cancellation feature reduces this commitment to just 30 days, offering more flexibility and ease for agencies managing their clients' SEO strategies.
- Why Cancel?: The option to cancel Yext listings gives agencies and businesses the flexibility to adapt their SEO and online presence strategies as their needs evolve. Whether due to budget adjustments, changing marketing tactics, or the end of a promotional period, this feature ensures you can manage listings efficiently without being locked into a long-term commitment.
Pro Tips
- Regular Monitoring: Check your Yext listings regularly to ensure all information remains accurate and up-to-date. This will help maintain a strong online presence and maximize SEO benefits.
- Leverage Integration: Utilize the integration with Referins to streamline your listing management and automate updates. This can save time and improve the accuracy of your business information across platforms.
- Review Pricing Options: Take advantage of any special pricing or promotions offered through Referins for Yext services. This can help you manage costs while benefiting from enhanced SEO features.
- Plan for Cancellation: If you plan to cancel Yext listings, incorporate the cancellation process into your workflows to ensure a smooth transition. This helps avoid disruptions in your SEO strategy and keeps your listing management efficient.
FAQ
1. How do I create a Yext account through Referins? To create a Yext account, navigate to Reputation > Listings within Referins, run a scan, fill out your business information, enter payment details, and confirm your account setup.
2. What should I do if my listings are still showing as "Processing"? If your listings are showing as "Processing," wait for up to 48 hours. Your information should update to "Live" once the processing is complete.
3. How can I manage my Yext listings after setup? You can manage your Yext listings by accessing the Listings page in Referins, clicking on "Manage Listing" next to each listing, and updating details as needed through Yext.
4. What happens when I cancel a Yext listing? When you cancel a Yext listing, Yext will stop managing it, but the listing itself remains on the network. The SEO benefits from the listing are preserved, and the minimum commitment period is reduced to 30 days.
Was this article helpful?
That’s Great!
Thank you for your feedback
Sorry! We couldn't be helpful
Thank you for your feedback
Feedback sent
We appreciate your effort and will try to fix the article