The Add to Google Analytics Workflow Action allows you to create a workflow that will automatically fire a Google Analytics event. In order for this workflow action to function, you must already have your Google Analytics account set up and connected to your system. This article will give an overview of how to set up a workflow using the Add to Google Analytics Workflow Action.
How to access:
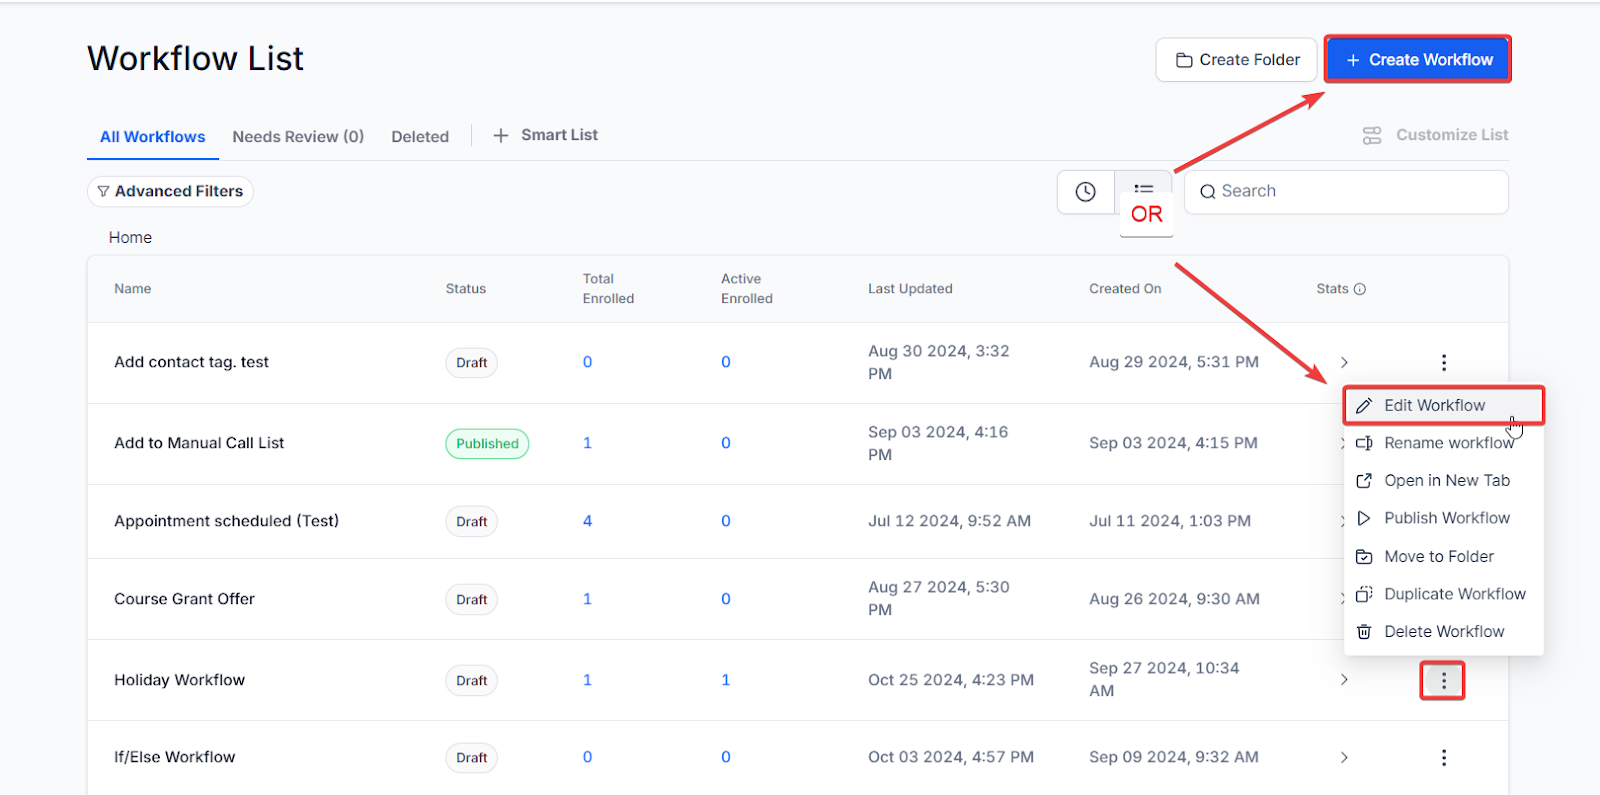
Step 1: Start a new workflow or edit an existing one
- Navigate to Automation > Workflows and start a new workflow or edit an existing one.
Step 2: Set up applicable Workflow Trigger(s). We have multiple articles available to explain the setup of each of the Workflow Triggers. Feel free to review our articles on these for more information on setting these up.
Pro Tip: You can use any Workflow Triggers to trigger the Add to Google Analytics Workflow Action or you can leave this workflow without any triggers.
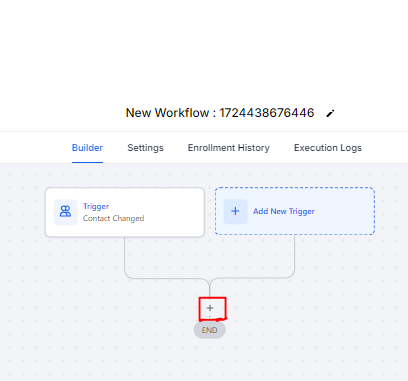
Step 3: Setting up the Add to Google Analytics Action
- Click on the “+” symbol below the trigger to add an action.
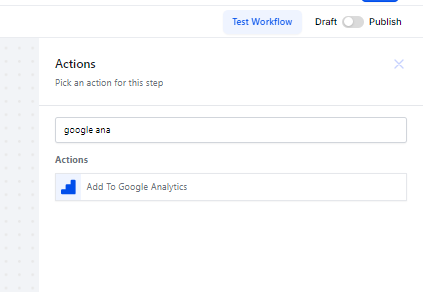
- Under Actions, select Add to Google Analytics in the CRM section of the Actions Menu or use the search feature. Upon selection, the Action setup menu will appear
- (Optional) You can change the workflow builder display name of this action using the textbox below Action Name. Note that this will only affect the display name within the workflow builder and has no other impact on the content or functionality of this Workflow Action.
- Under Action Type, select Universal Analytics OR Google Analytics 4
- Universal Analytics will prompt you to fill a set of text boxes with your analytics information. These boxes will be Tracking ID, Event Category, Event Action, Event Label, and Event Value
- Google Analytics 4 will also prompt you to fill a set of text boxes with your analytics information. These boxes will be Measurement ID, Event Name, and API Secret.
- Note that Event Name must be mapped from Google Analytics 4 or Universal Analytics.
- Any of these boxes can be filled using appropriate Custom Values by pressing the tag symbol on the right side of each text box

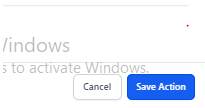
- Press Save in the bottom right corner of the Action setup menu
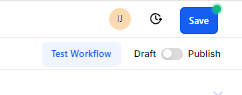
Step 4: Press Save in the top right corner of your browser to save the workflow
- If your Workflow is ready to be enabled, make sure the toggle switch under Save is set to Publish
- Be sure to test your Workflow to make sure it is set up correctly using the Test Workflow button next to the Publish toggle switch.
- For an in-depth overview of Workflow Testing see our article, “Using the Testing Features in Workflows”
Now your Workflow is set up and ready to go with the Add to Google Analytics Workflow Action!
FAQs for the "Add to Google Analytics" Workflow Action
1. What does the "Add to Google Analytics" action do?
The "Add to Google Analytics" action allows you to automatically trigger a Google Analytics event from within your workflow. This helps in tracking specific user actions or behaviors as defined in your Google Analytics setup.
2. What do I need before using the "Add to Google Analytics" action?
- Google Analytics Account: Ensure your Google Analytics account is set up and connected to your system.
- Workflow: Create or edit a workflow where you want to add this action.
3. How do I set up the "Add to Google Analytics" action in my workflow?
- Start/Edit Workflow:
- Begin by creating a new workflow or editing an existing one.
- Set up the appropriate workflow triggers if needed.
- Add Action:
- Click on the “+” symbol to add a new action.
- Select “Add to Google Analytics” from the CRM section or use the search feature.
- Configure Action:
- Action Type: Choose between Universal Analytics or Google Analytics 4.
- Universal Analytics: Fill in Tracking ID, Event Category, Event Action, Event Label, and Event Value.
- Google Analytics 4: Fill in Measurement ID, Event Name, and API Secret.
- Custom Values: Use custom values by pressing the tag symbol next to each text box if needed.
- Save:
- Press “Save” in the bottom right corner of the action setup menu.
- Save the workflow and publish it if ready.
4. What is the difference between Universal Analytics and Google Analytics 4?
- Universal Analytics: This is the older version of Google Analytics that uses Tracking ID and requires fields like Event Category, Event Action, etc.
- Google Analytics 4: This is the latest version with a different setup. It uses Measurement ID and focuses on Event Name and API Secret.
5. How do I find my Tracking ID or Measurement ID?
- Universal Analytics: Your Tracking ID can be found in your Google Analytics account under Admin > Property Settings.
- Google Analytics 4: Your Measurement ID is located in your Google Analytics 4 property under Admin > Data Streams.
6. What should I use for Event Name in Google Analytics 4?
- The Event Name must be mapped according to your setup in Google Analytics 4. This name should correspond to the events you are tracking in your Google Analytics 4 property.
7. Can I use custom values for the analytics fields?
Yes, you can use custom values for any of the fields by pressing the tag symbol next to each text box. This allows you to dynamically insert values relevant to each specific contact or action.
Was this article helpful?
That’s Great!
Thank you for your feedback
Sorry! We couldn't be helpful
Thank you for your feedback
Feedback sent
We appreciate your effort and will try to fix the article