Thanks to auto payment enablement, businesses can automate payments for invoices with scheduled payment plans. This enhancement simplifies the payment process, ensuring timely collections without the need for manual intervention.
How to Use Auto-Payment Enablement
Step-by-Step Guide
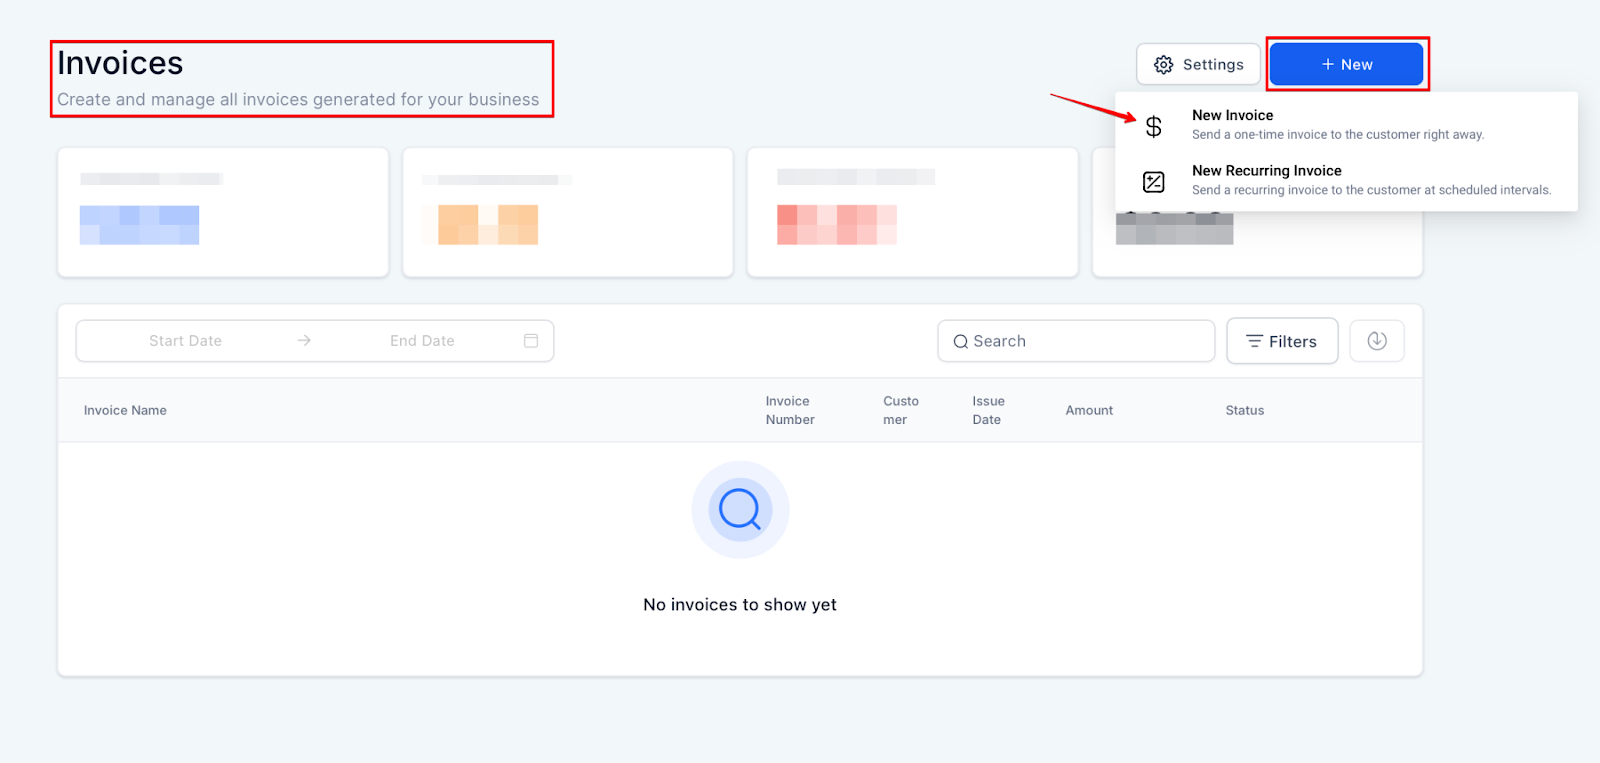
- Set Up Your Invoice with a Payment Schedule
- Create an Invoice: Navigate to your invoicing section and create a new invoice.
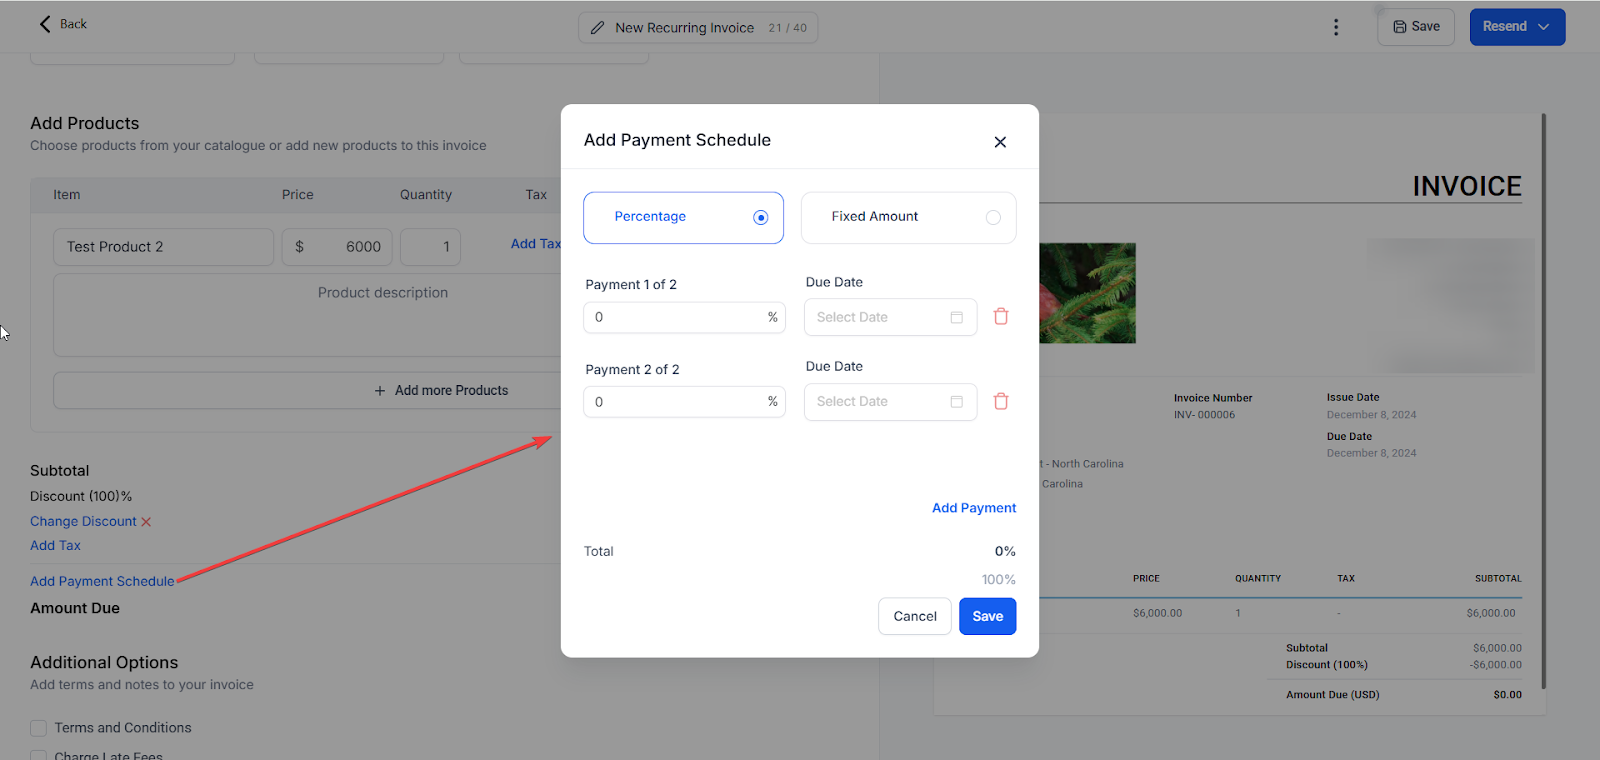
- Add Payment Schedule: Click Add Payment Schedule. Choose between percentages or fixed amounts and set due dates (e.g., 50% today, 50% next week). Click Add Schedule to apply the payment plan.
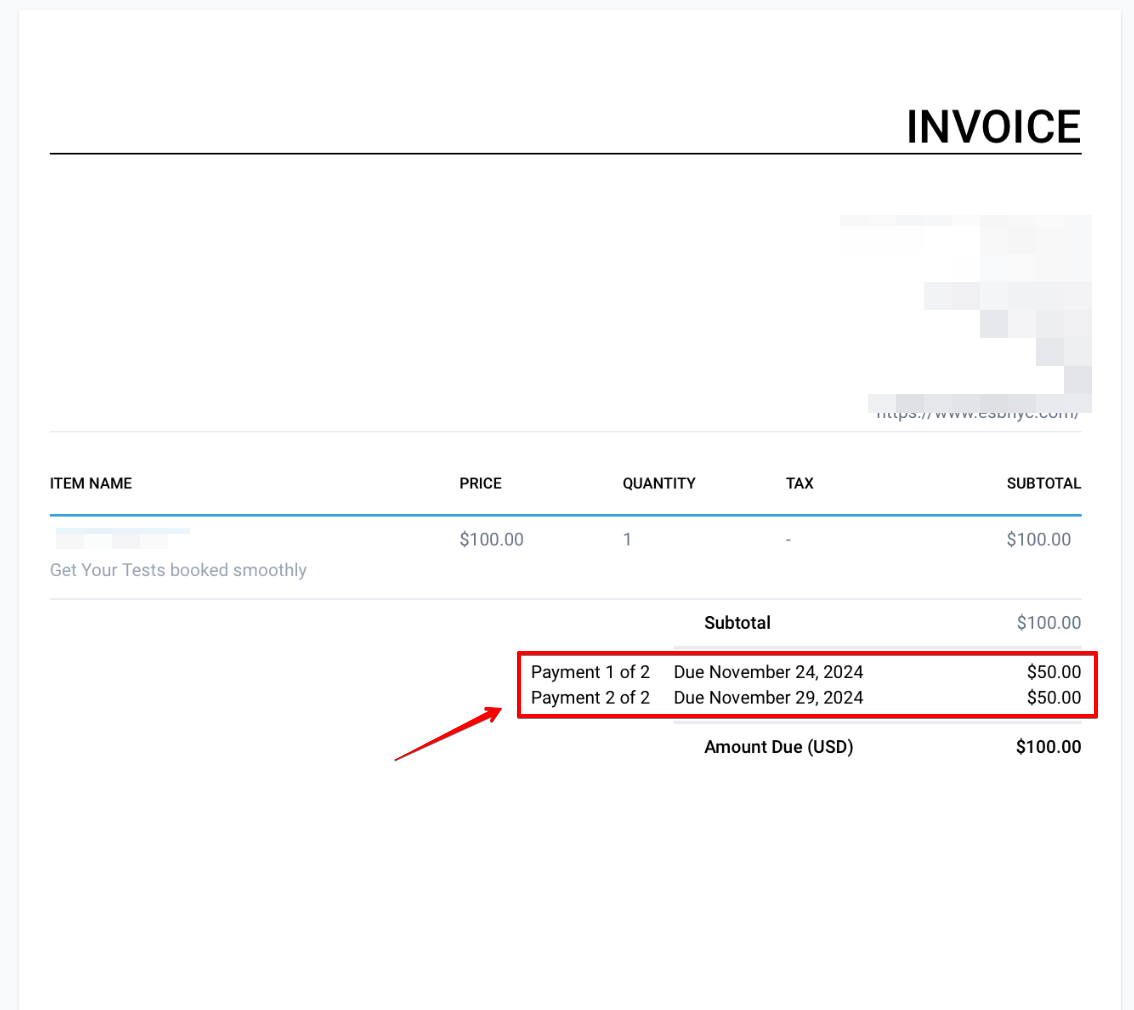
- Users will view the invoice with the ability to view the plan on the invoice
- After the user receives the invoice, they can make a payment and choose from the predefined payment schedule or add additional payment schedules by selecting the appropriate checkbox.
- Enable Auto-Payments
- Access Auto-Payment Option: While preparing to send the invoice, look for the auto-payment enablement option.
- Enable Auto-Payments: Toggle the option to enable auto-payments for the scheduled installments.

- Confirm and Send: Confirm the settings and send the invoice to the customer.
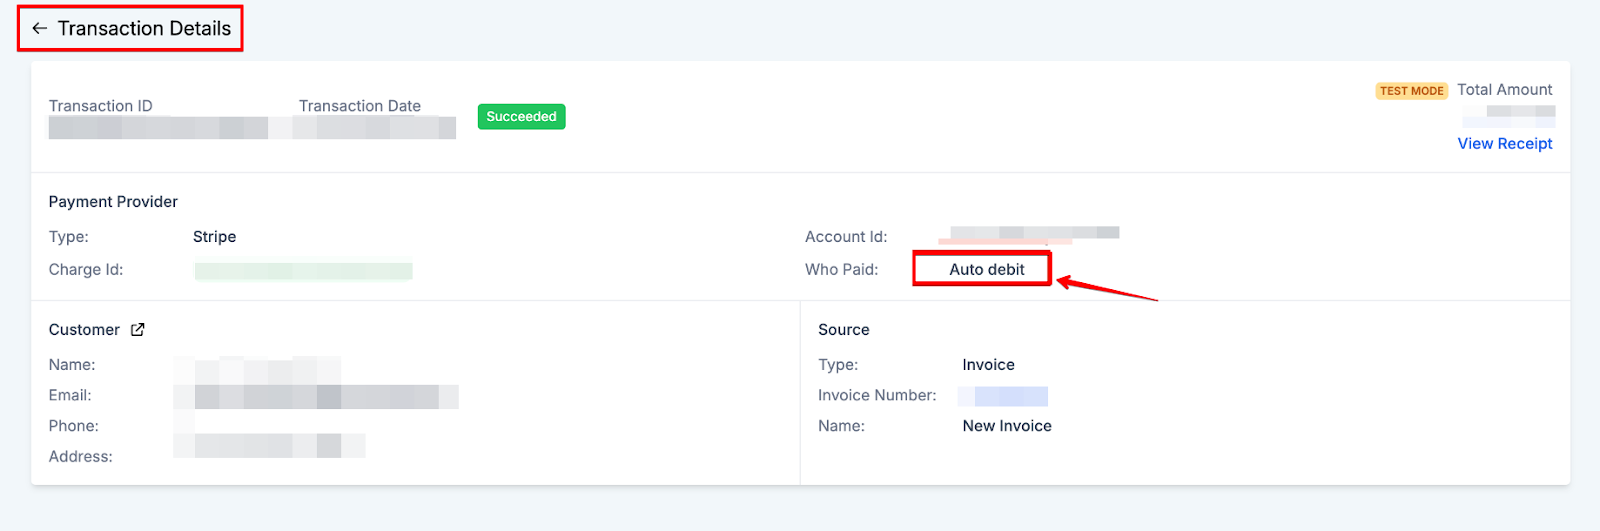
- Automatic Payment Processing
- Initial Payment: The customer makes the first payment manually.
- Subsequent Payments: Future payments are charged automatically on the scheduled dates, using the payment method provided by the customer.
Recording Payments Manually
- Record Payment: Click the three dots, select Record Payment, then Record Manually. Enter payment details and click Submit.

- Update Status: The invoice status will change to Partially Paid until all payments are complete, then to Paid.
Pro Tips
- Clear Communication: Inform your customers about the auto-payment feature and how it works to ensure transparency.
- Monitor Payments: Regularly check your payment dashboard to monitor the status of auto payments and address any issues promptly.
- Update Payment Methods: Ensure that customers can easily update their payment methods to avoid failed transactions.
FAQ
Q: Can I enable auto-payments for any type of invoice?
A: Auto-payments can be enabled for invoices with a defined payment schedule. Ensure that the invoice is set up with the appropriate schedule to use this feature.
Q: What happens if a payment method fails?
A: If a payment method fails, you will be notified to take appropriate action. Ensure your customers update their payment methods to avoid interruptions.
Q: Can customers opt out of auto-payments?
A: Yes, customers can choose to opt out of auto-payments by updating their payment preferences. However, it's recommended to communicate the benefits of auto-payments to encourage their use.
Q: How do I update a payment schedule once auto-payments are enabled?
A: To update a payment schedule, you will need to modify the invoice details and inform the customer of the changes. Ensure that any changes are communicated and agreed upon by the customer.
Was this article helpful?
That’s Great!
Thank you for your feedback
Sorry! We couldn't be helpful
Thank you for your feedback
Feedback sent
We appreciate your effort and will try to fix the article